Home | Dashboard | Contestants | Events | Event Settings | Awards | Manage Events Judging | Reporting | Setup | Read me Win | Mac
W.A.L.E.S Solutions
Judging
This is one of the most powerful features of the “Eisteddfod” using the “ Cloud Hosting Version”. You can do the results of multipul competitions as the competition/s are being judged and if required print out the “Prize Cards”.
– Judging: The system needs to know if you are “Judging” 1st, 2nd, 3rd etc or judging by highest scores if the Majority of your events are the same.
This can be setup in “Setup” prior to importing your program and/or you can alter individual Events in “Events -- Event Settings”.
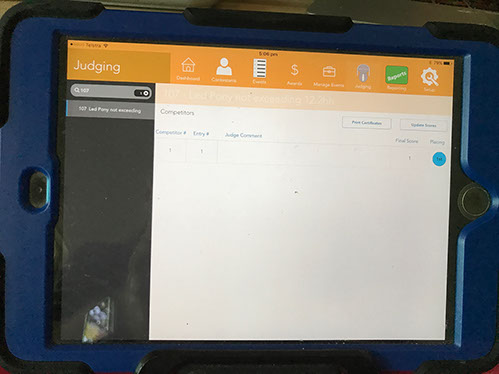
– Entering Results: If you have a laptop or iPad and are connected to the “Eisteddfod: via the “Cloud” First find your events then you enter the scores or placings and when the event has been judged Click update Scores and there will be a Blue, Red, Yellow button to indicate 1st, 2nd, & 3rd. If you press another placing it will put a green button which is highly commended.
There is a place for a Judge’s Comment which will go on the competitors summary.
Please Note: If the Judge awards a Equal placing the next placing will be dropped:
Example: If there is an Equal 2nd there is no 3rd the next placing will be 4th. The system doesn’t recognise Equal Firsts and Equal 2nds in the same event.

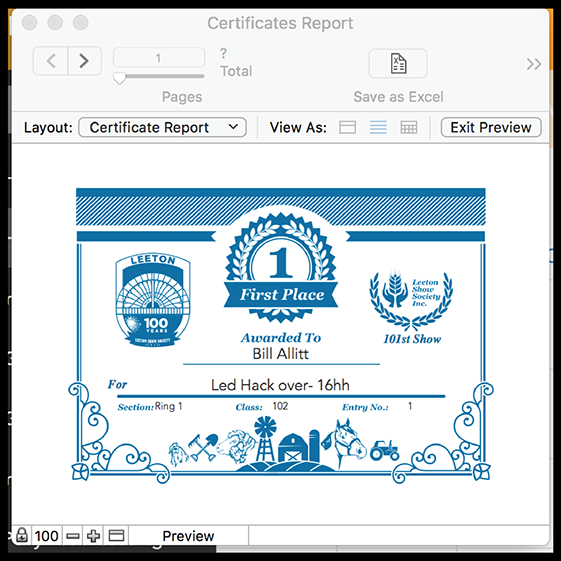
– Print Certificates: Once the judging has been completed you can select “Print Certificates” the appropriate certificates will be printed. The certificates are set up in “Setup”. (Figure 2)

– Highly Commended: To activate the “Highly Commended you simply click on the Placing Box of the Competitor. An infinite amount of Highly Commended can be Awarded.
To undo a placing simply Change or Delete the entry “score” and then “Update Scores”. (Figure 1)
– Judging using iPad: First go to App store and download an Ap called “Filemaker Go 15” Then email the link to the iPad and open the link Sign in and go to “ Judging” Search for the Event and enter the results. (Figure 3)
Once a event has been judged go Print from the “Judging Menu”
If you need to align the text you need to adjust the print to suit your certificate you will need to edit the layout. (Figure 9) Changes can only be made by “Super User”
NB_1 it pays to have all the certificate details in the same spot - otherwise you need to do each individual certificate.
NB_2 Currently you are unable to print Champion Certificates.
(Figure 9)
In figure 10 you can see that the second line and bottom line are too high
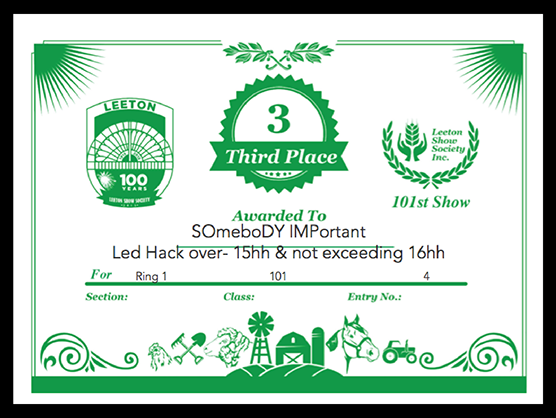
(Figure 10)
– Change the layout: First select the Certificate you need to edit by clicking the arrows to cycle through the windows or you can use the slider to slide to the correct Certificate. Click the “Exit Preview” Button (Figure 9) This button will change into “Edit Layout” Click “Edit layout” (Figure 11)

(Figure 11)
This will open up the below window (Figure 12) DO NOT DELETE ANY FIELDS OR TEXT BOXES. If you don’t need the boxes drag them off to the Grey area (Right Side) which is outside the print area, if you cannot see the Grey area drag the window wider. In the Top row you will see an arrow tool select this to move any boxes.
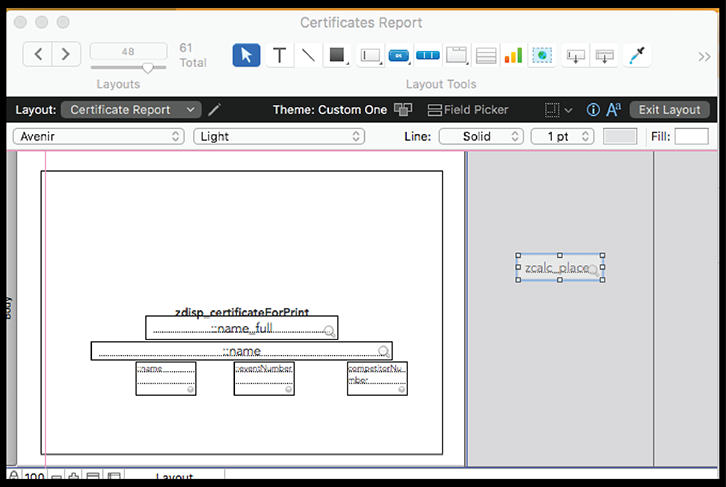
(Figure 12)
– Description of fields in the Certificate Box:
1. ::Name Full: The Winners Name
2. Zdisp_CertificateForPrint: is the name of the certificate
3. :: Name: Description of the Event
4. :: Name: In box on Right Hand Side refers to Stage or Section.
5. :: EventNumber: Refers to Event Number
6. CompetitorNumber: Refers to Entry Number in Class.
Depending on the information on your certificate you can add or delete or move to your desired location.
If you need more information please contact us.
Once you have made your changes you then click “Exit Layout” you will then be prompted to save the changes. This will then take you back to the certificate and you can see the changes before printing.
If you have made a change and you would like to undo the change if you go back and “Edit Layout” before you move to another section you can go “Edit Undo Move”.
Import Data
This is where you import your spreadsheet. We have included a sample template for you to set up your data for import into “Eisteddfod”. (Figure 13) Included also is a column ID that you need to set up your data.

(Figure 13)
If you have an existing list of contacts you can also set them up and import them in to “Eisteddfod”. using the “Import Contestants” Template.
Home | Dashboard | Contestants | Events | Event Settings | Awards | Manage Events Judging | Reporting | Setup | Read me Win | Mac